Pre-Installation
Proper installation of the D-Eggs into the freezer is critical to ensure no additional errors are encountered during testing. For your safety and the safety of the D-Eggs, the procedure should always include at least 2 people, with a 3rd person often being useful. Before this step, you should read the previous sections to become familiar with the laboratory and safety procedure.
Preparing the D-Eggs
When D-Eggs arrive from NME, they are packaged inside their boxes. The first step is to remove the D-Eggs from the boxes and place them into their holders. Make sure any features are documented on the travellers for the D-Eggs, such as large scratches or broken components.
Note on Storage
Currently the D-Eggs are stored in various locations at the University. Check the “Session” number for your shift - this will map to the D-Eggs to be installed. Take a moment to check if the D-Eggs are all accounted for (no mistakes in scheduling). If these are located at the Science Building Site, transport will need to be organised. Talk to an expert before your shift to make sure.
Extracting D-Eggs
As you are going through these steps, remember to fill out the “D-Egg FAT Test Stand Checklist”
Extracting the D-Eggs should be done by at least 2 people, for safety and efficiency. Please use appropriate safety equipment including: gloves and head protection.
Open the box, make sure a traveller sheet is inside. Use this to document information.
Confirm the new harness is installed (check D-Egg Component Logbook). If not, follow the harness installation manual instructions.
Unwrap the top harness cables and insert them into the crane winch.
Lift the D-Egg until the box can be removed easily.
Cover the exposed harness cable ends in plastic wrap to prevent scratching of the glass.
Confirm the QR-code sticker on the glass matches the information on the traveller.
Check for components which might have come loose - camera, cables.
Inspect the glass for stickers or tape which would obstruct the PMT, flashers, or cameras.
Remove all stickers or tape except for the QR-code sticker and clean any glue with ethyl alcohol.
Make sure the D-Egg is suspended evenly from the harness. If not, carefully adjust.
Clean the glass using ethyl alcohol: particularly near the PMTs, cameras, and flashers.
Lower the D-Egg into the wooden holder, such that the penetrator is located to the left of the wheels with locks.
Use hook-and-loop fasteners (magic tape) to secure the harness cables together.
All traveller sheets should be stored in the FAT File while they are being tested.
Store the empty boxes in the area near the crane.

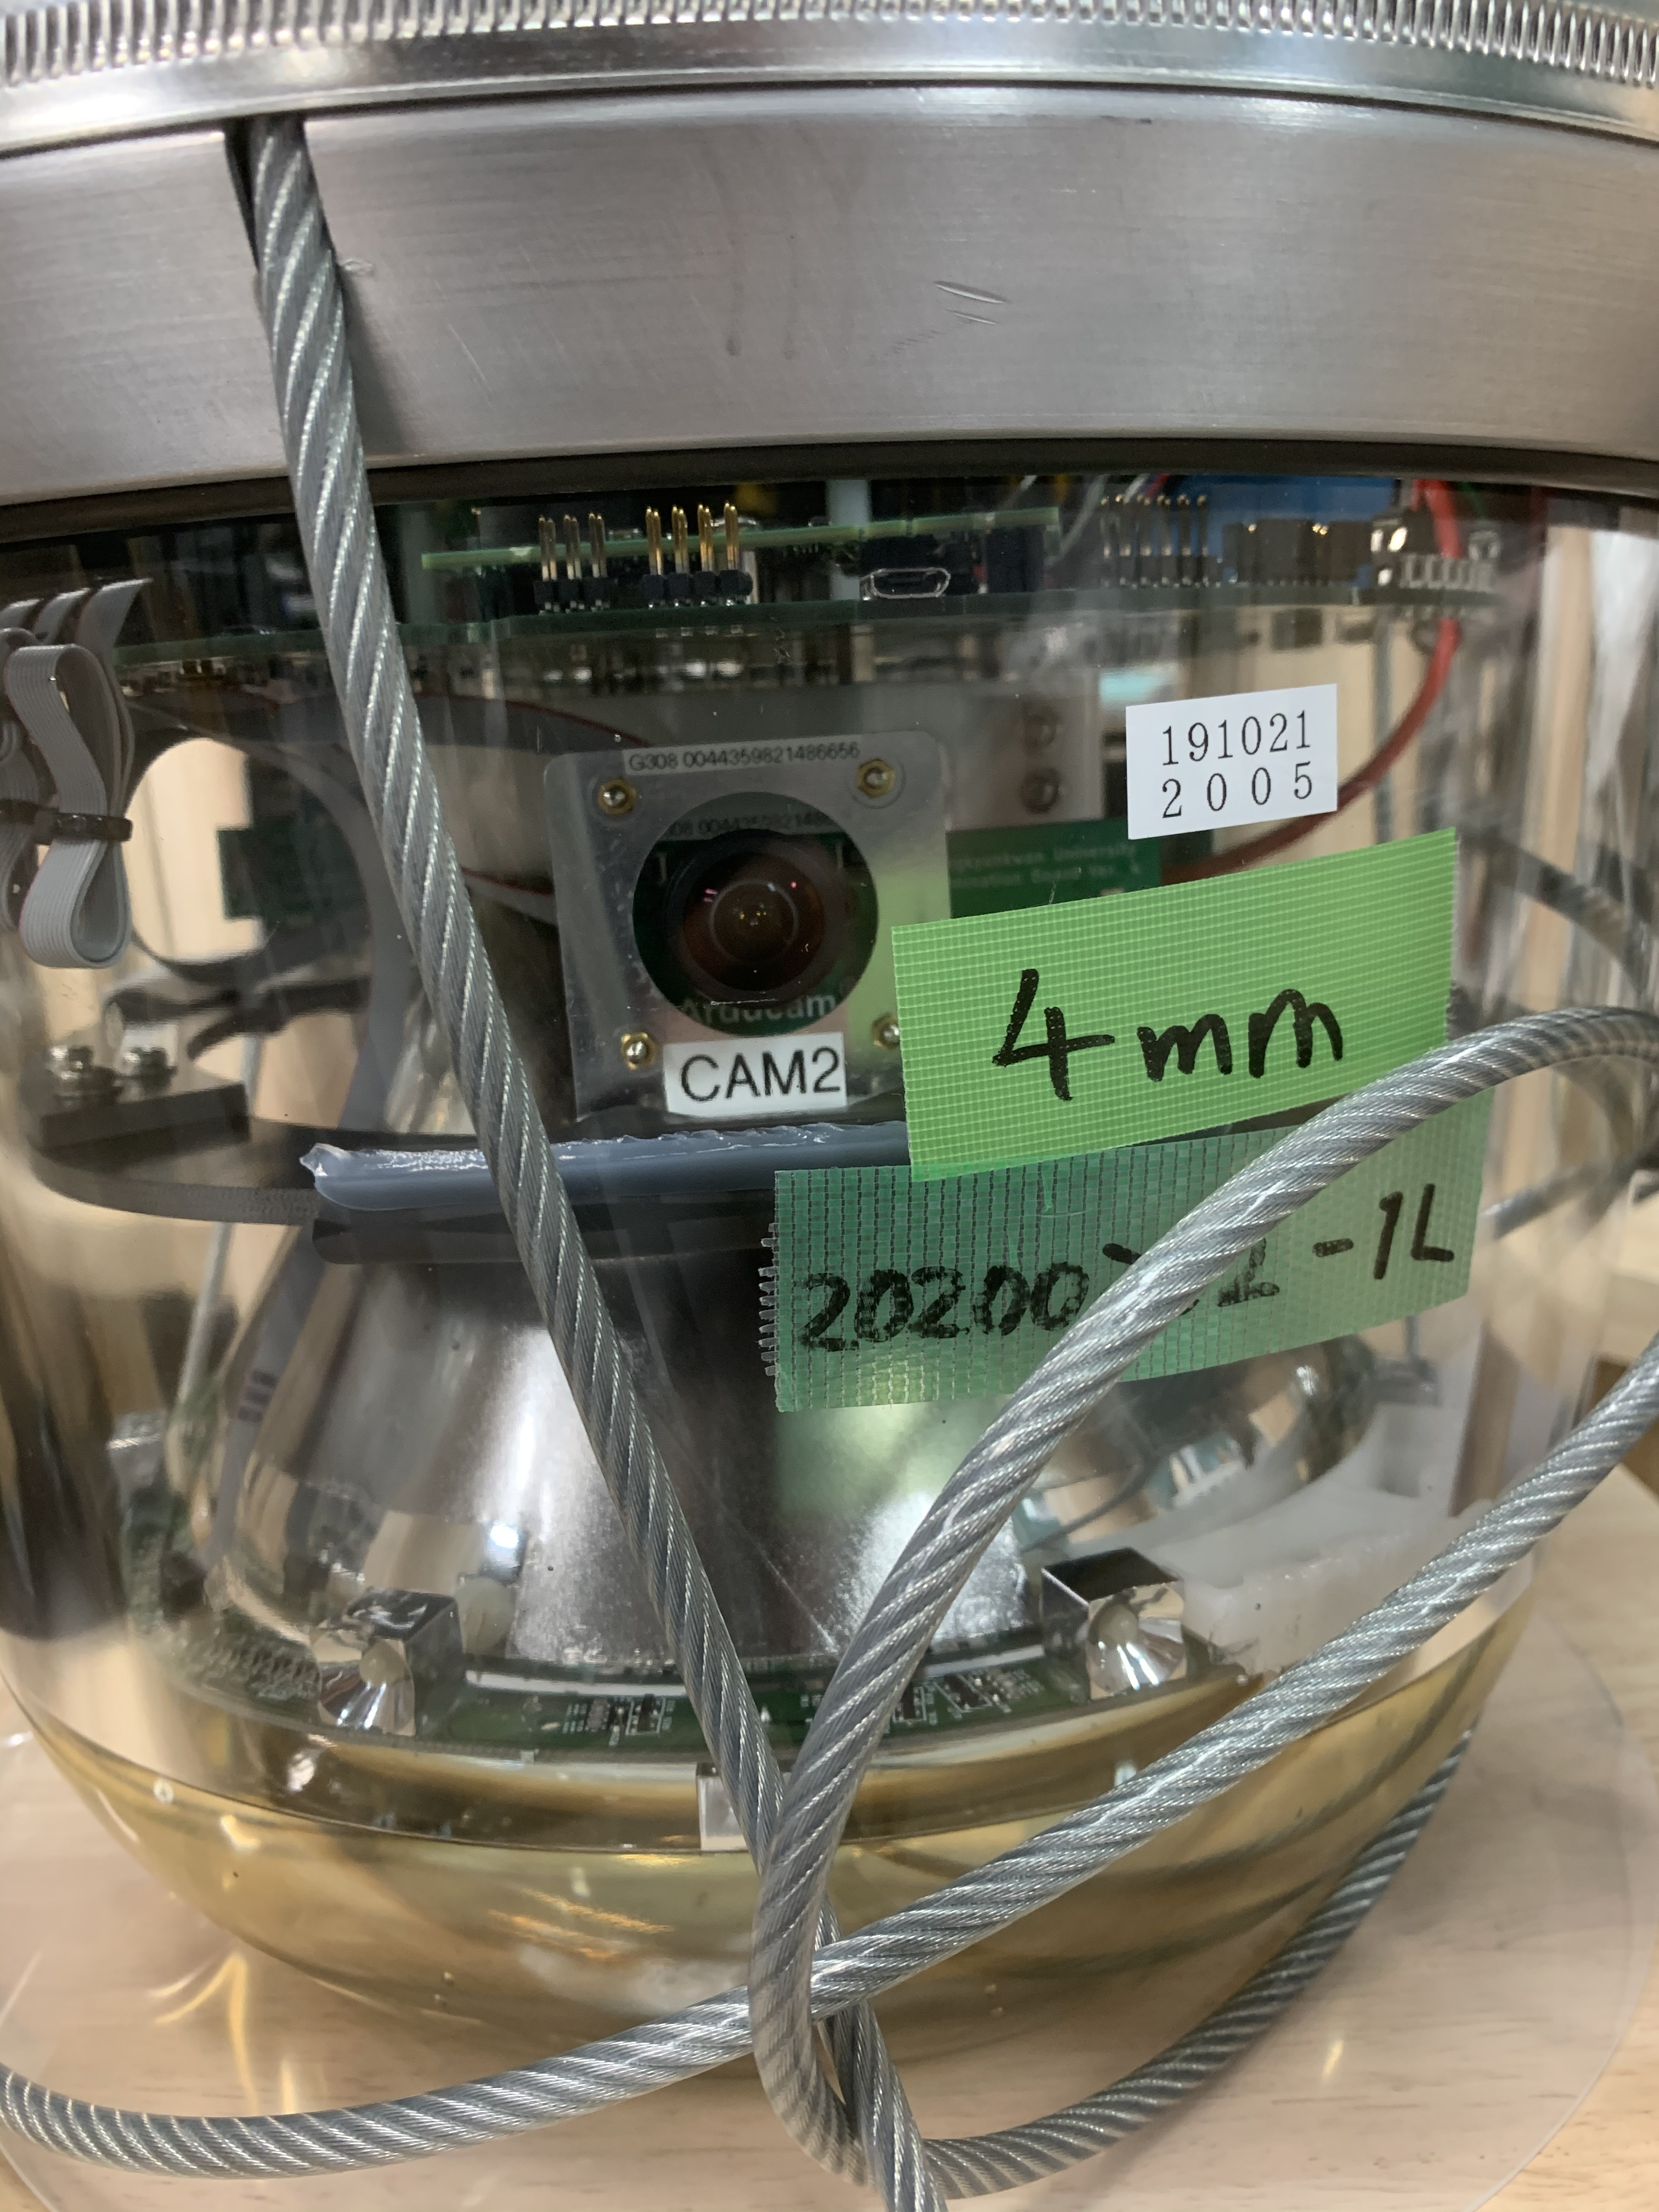
As you can see in this image, the table labeling on the glass is obstructing the camera LEDs (potentially also the camera field of view). All tape should be removed and any area around the tape cleaned.

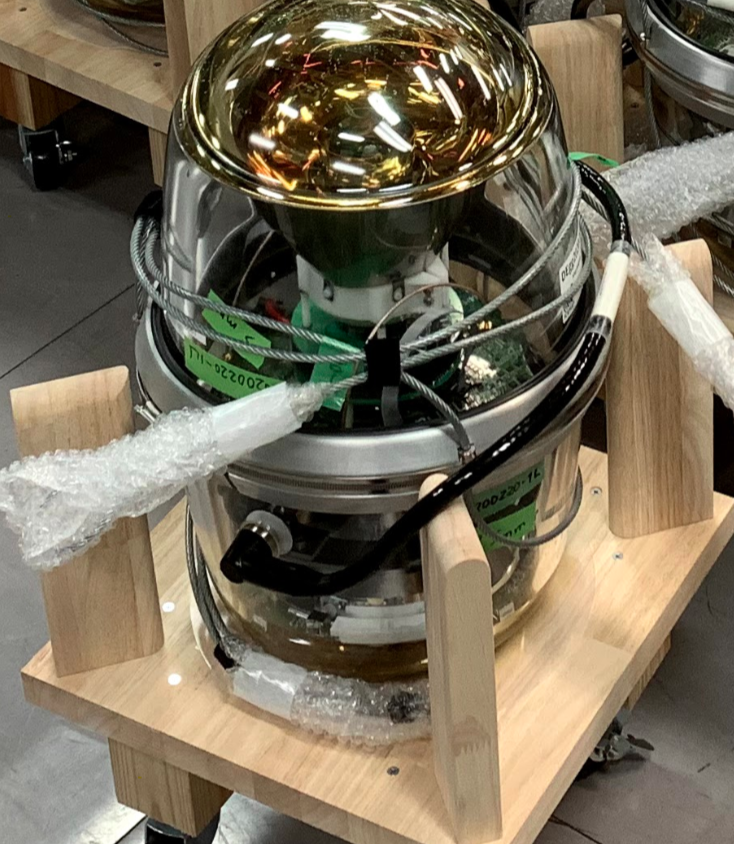
Here you can see the D-Egg has been unpacked and is prepared to go into the freezer. Note the plastic covering the exposed harness loops and the harness cables tied together with hook-and-loop fasteners. Also note how the harness cables on the lower-side have been wrapped to attempt to prevent obstruction of the cameras or flasher systems.

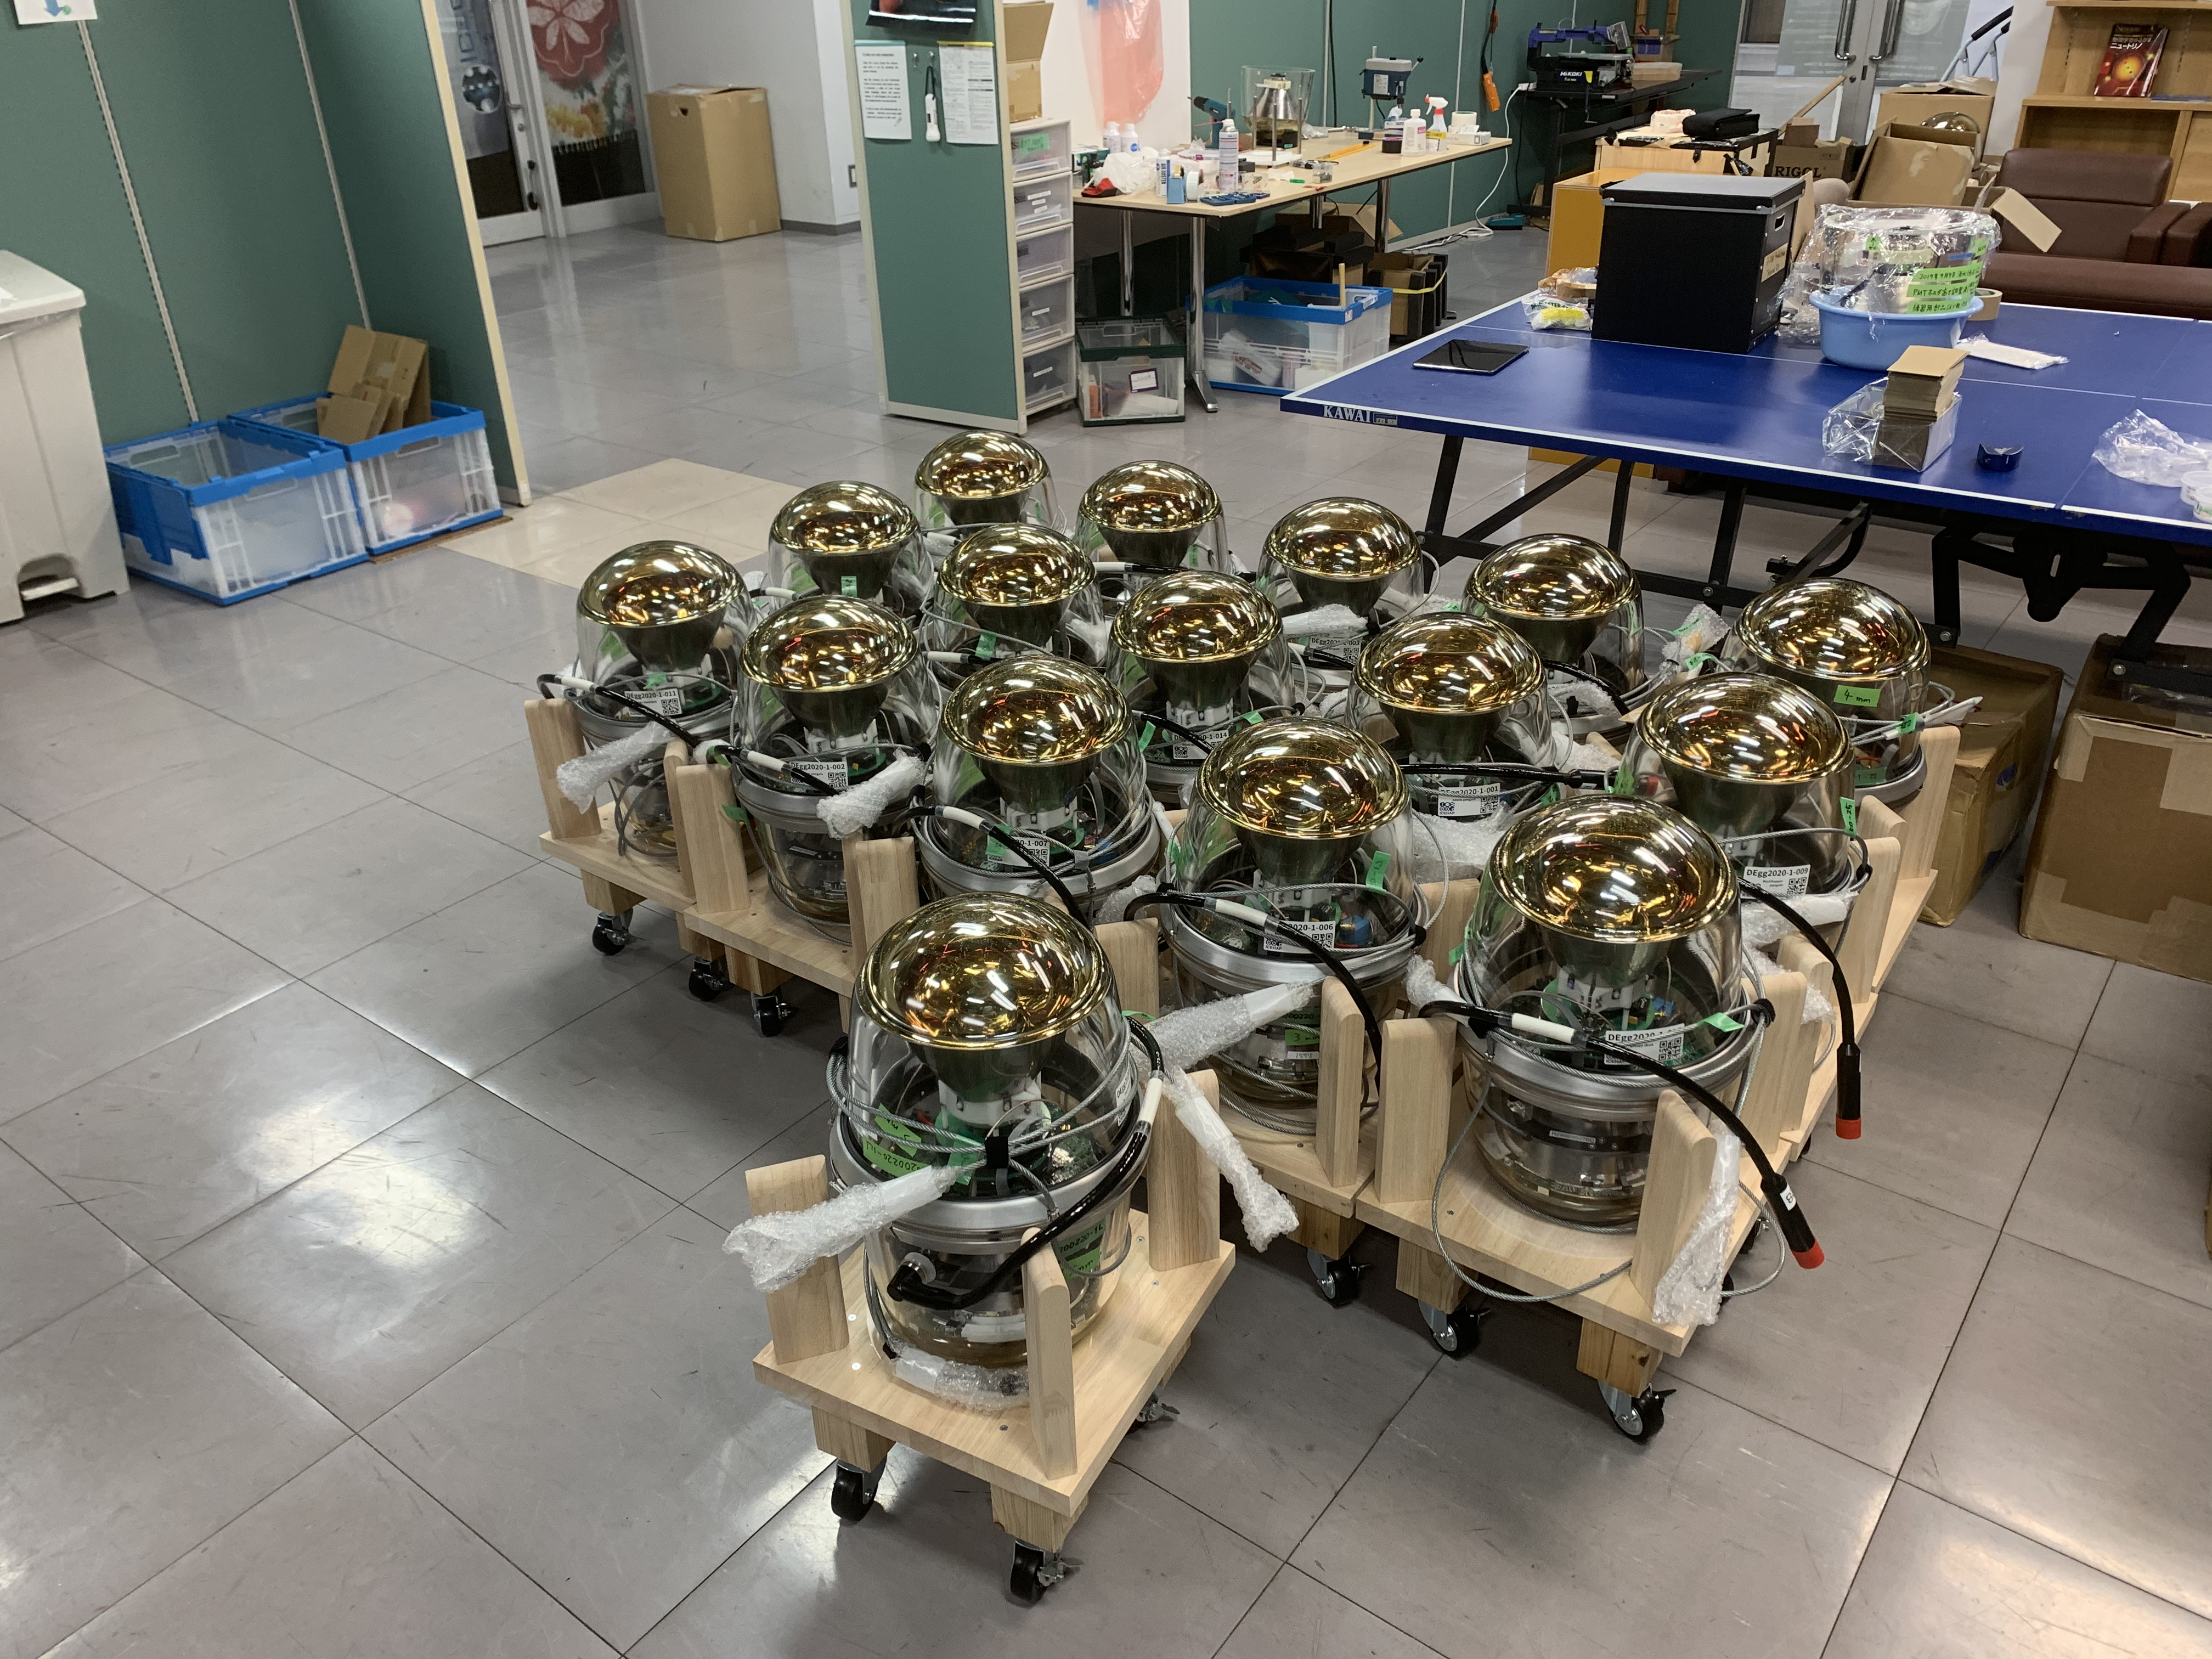
This image includes the 16 unpacked and prepared D-Eggs. At this point, the D-Egg’s electronics should be tested and its flashID and ICMID confirmed with that already inside the D-Egg production logbook. If for some reason the IDs are not in the logbook, please include them now.
Getting Mainboard Information
The unique identifying information from each mainboard is required to map between the electronics (Mainboard) and D-Egg ID (as seen on the sticker). To perform this task you will need:
Mini-fieldhub
Signal Cable
PC
These should be located in the mobile testing rack near the crane area (pre-FAT setup).
When you open the D-Egg Component Logbook, please go to the tab called “D-Egg batch#2” (or #1 or #3). If you are not sure how to access this page, please go to the D-Egg production page on the IceCube wiki and click “Components Log Book”.
Connections to the D-Egg penetrator cable assembly can be fragile, so be careful.
Connect the D-Egg to the verification mini-fieldhub (MFH) via the penetrator cable assembly (PCA).
Enable the MFH power.
Open the connection to the D-Egg using
domnet /dev/ttyUSB*, where*is the USB slot to which the MFH is connected (usually 0). Keep this terminal open.On the PC, navigate to the
fh_server/scripts/directory and runicm_probe /dev/ttyUSB*.The
icm_probeshould display 2 ICMs, one on a channel between 0 - 7, and one on 8. Channel 8 is the ICM inside the MFH, while 0 - 7 should be the D-Egg. If you are using the pre-FAT setup the D-Egg should be connected to 2.Open a new terminal and connect to the mainboard using telnet:
telnet localhost {port}, whereportthe connection to the D-Egg. DomNet begins connections from 5000 by default. Your port will be 5000 plus the channel number observed fromicm_probe. For example,icm_probetells me the D-Egg is on channel 3. I should dotelnet localhost 5003.Once connected to the mainboard, hit return a few times and a prompt should appear. The prompt should look like
#. Typebootand wait a few seconds. Then hit return again.When the new prompt appears (
>), typeflashLS. If the prompt appears again, the mainboard is responding.Exit from telnet (using control +
]).Prepare to update the D-Egg MCU (iceboot), FPGA, and ICM firmware. See the individual guides in the next section.
If at any point the D-Egg fails these basic inspections, first examine the PCA connection. In the event the D-Egg continues to be unresponsive, make a note in the logbook and return to this module at the end. This could indicate damage incured during shipping between NME and Chiba.